
I am sitting in the middle of Cambridge, attending the Ternary Hackathon. Microsoft is sponsoring a challenge, and giving away some Xbox One Xs for the best use of Cognitive Services. Because of that, it was only fair that we also showcased a quick and dirty sample. We ended up showing two quick demos, which I'll write about here.
So, for the demo, the discussion turned to the recent releases of iOS and CoreML. The reason for this is simple - mobile developers are finding more and more use cases for doing some computer vision on the mobile phone. At this hack alone, some of the ideas that we've discussed (before it even formally started) blew my mind. I can't wait to see them tomorrow, when they're implemented.
Back to our demo, then. I've based it on the article from our colleague Lee.
Step 1: Building and training our model
As with all machine learning projects, the first thing to do is to build and train our model. This is obviously crucial for us, and how good we make the model will directly translate into how good the recognition capabilities (and probably our app) are going to be.
Let's start with Custom Vision Services then. Custom Vision Service is a tool for easily training, deploying, and improving custom image classifiers. You can use just a few images per each category to train your own image classifier in minutes, with decent results. For my example, I've used about 12 images per "tag" or class, and the precision was about 90%. The documentation recommends about 30 images for a solid prototype.
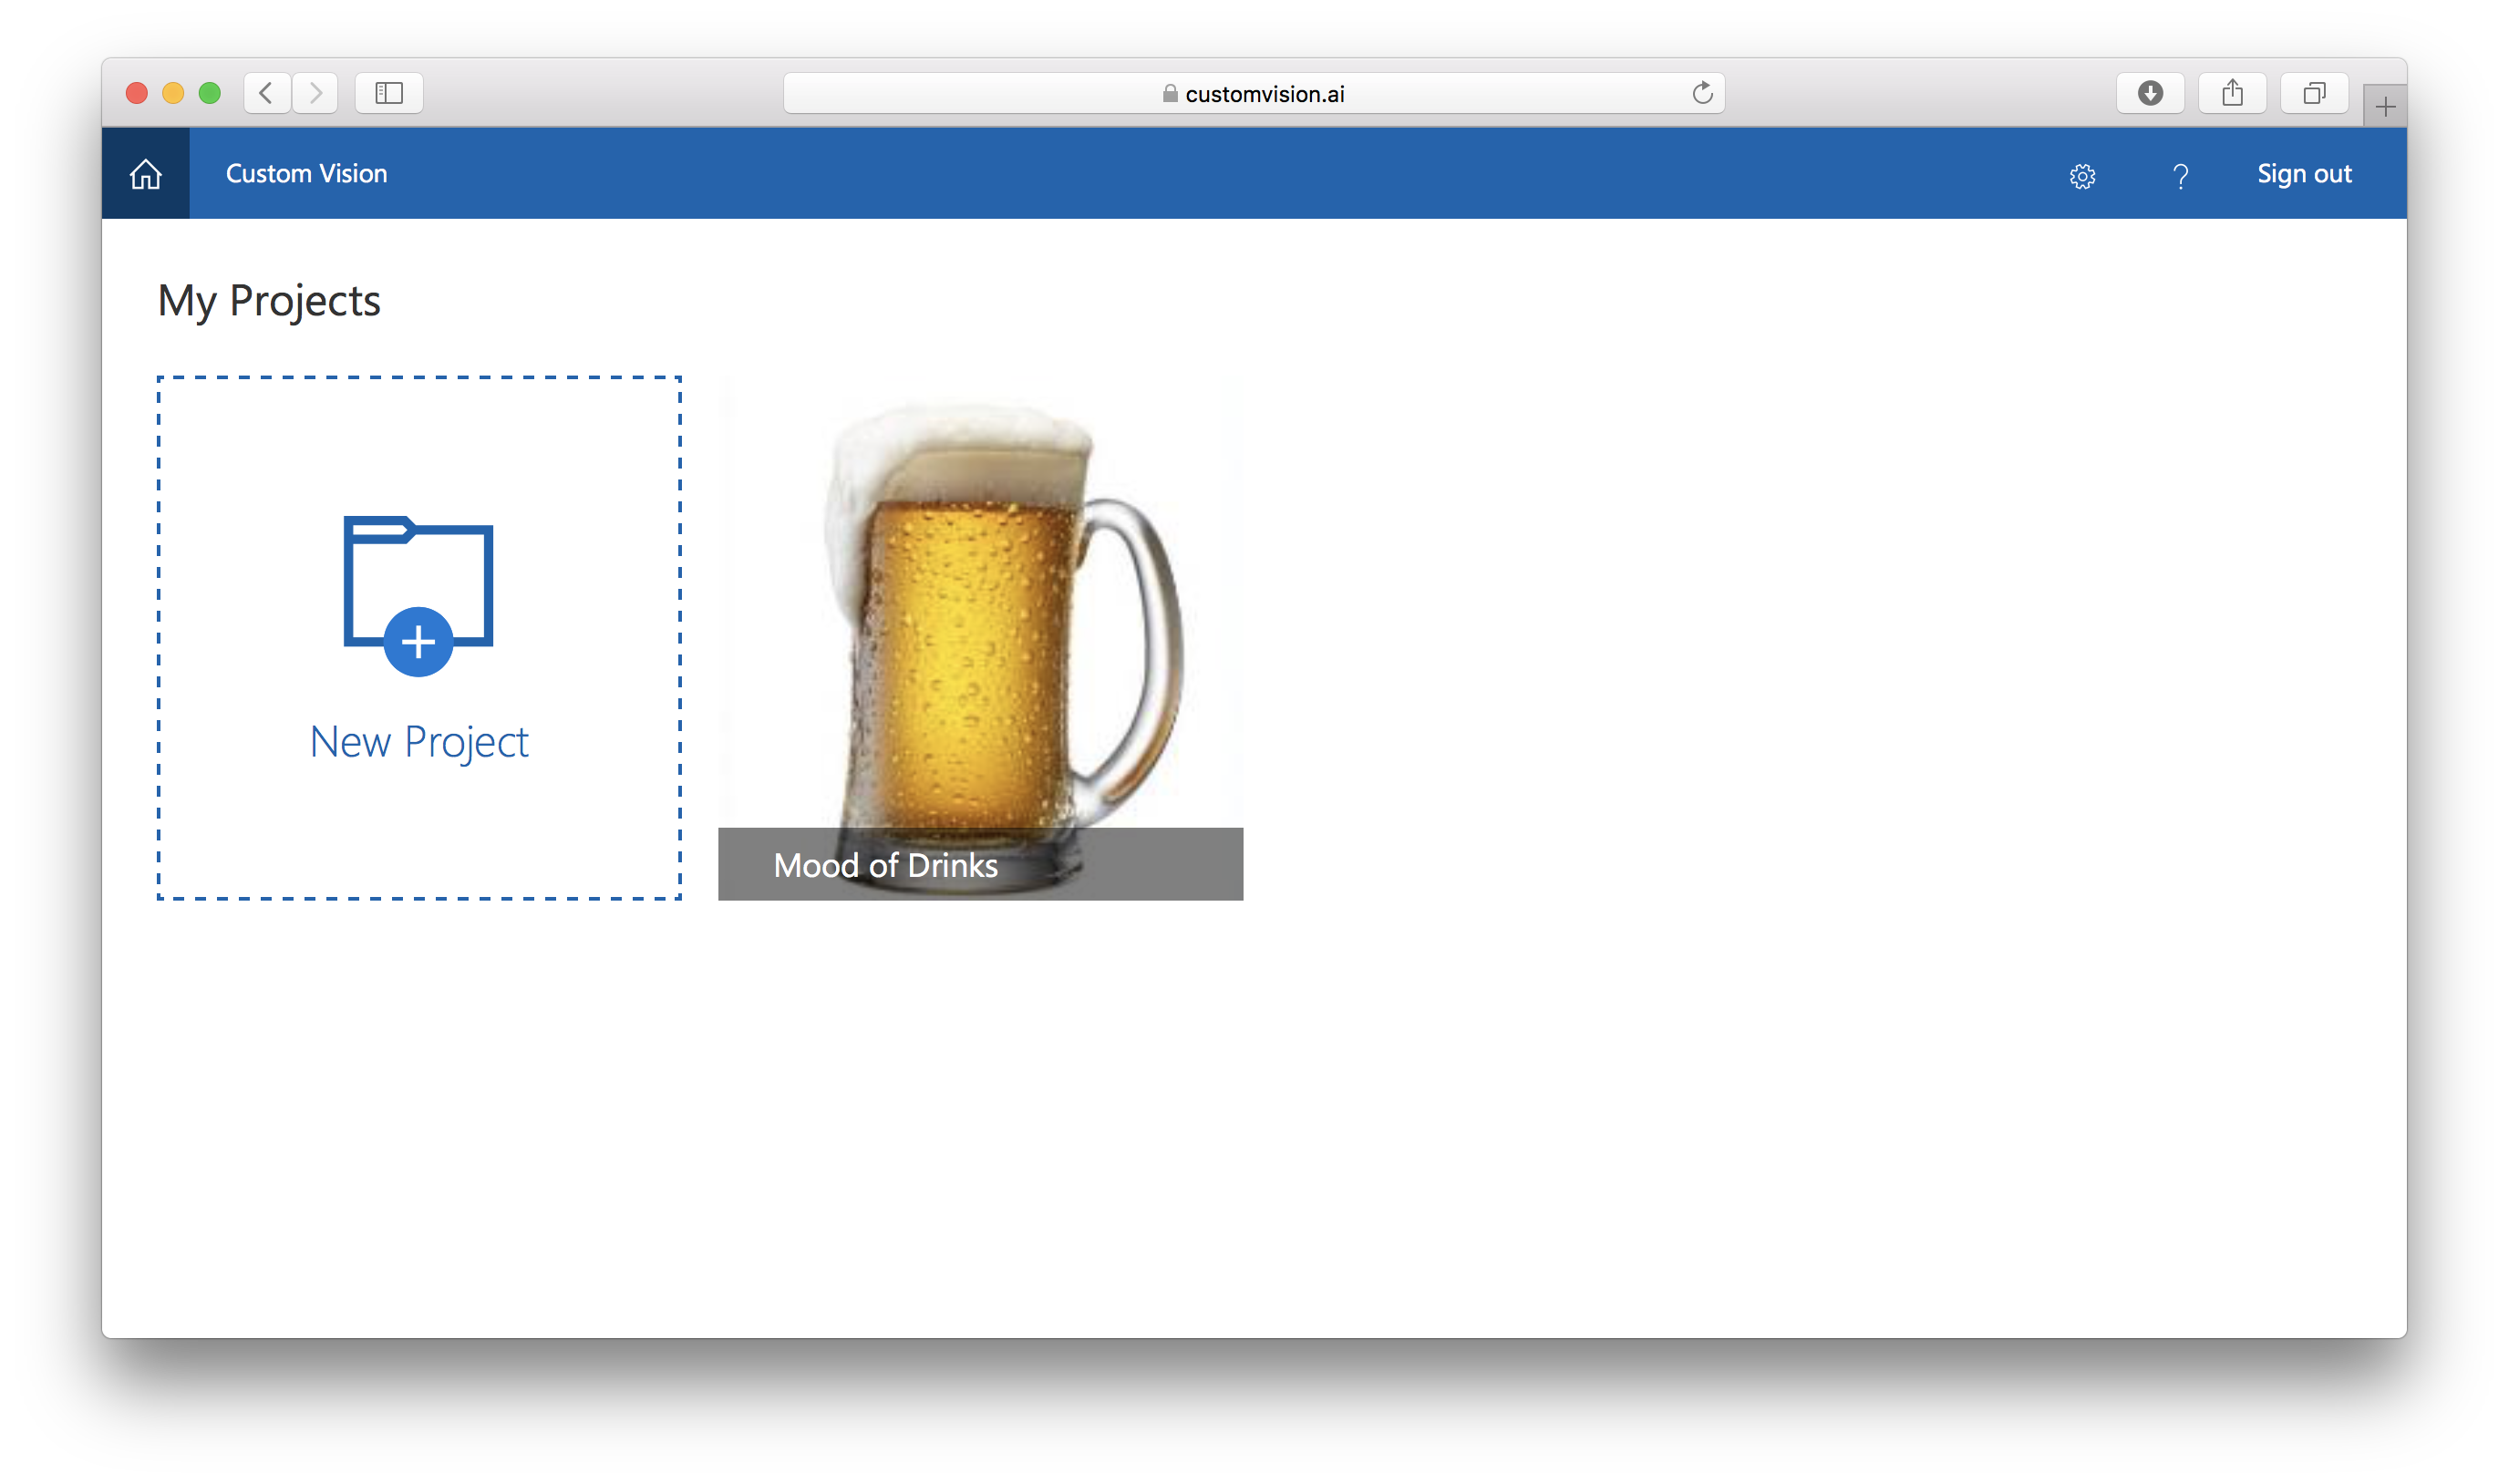
To get started, go to https://customvision.ai. You'll be greeted by a page allowing you to create a new model (or a list of models if you have them already).
Thanks to a suggestion by a friend (thanks, Stuart) the demo I built recognises different drinks. I wanted to do a bit more, but since I only had 10 minutes to present, time would have been tight. So, anyway, when creating a model, the first thing you need to do is select a domain - you can change it later, though. If you want to export it, you need to select one of the compact ones.
As of this writing, though, there's a known issue:
1/3/2018: The new "Retail - compact" domain model export to iOS (CoreML) generates a faulty model which will not run and generates a validation error. The cloud service and Android export should work. A fix is on the way.
In the drinks demo then, we'll select the general domain (of the compact variety). There is an overview of the domains in this documentation. The key thing to remember here is that the difference between them is the optimisation that's gone in behind the scenes. Some will show a bias towards certain types of images, for example, Food will be optimised for images of food on plates. It's an easy way to further optimise your classification.
Upload All The Images
Once the model is created, it's time to start loading our images and tagging them. I've compiled (searched for and borrowed from the internet) photos of various different drink types, like wine, beer, shots and cocktails.
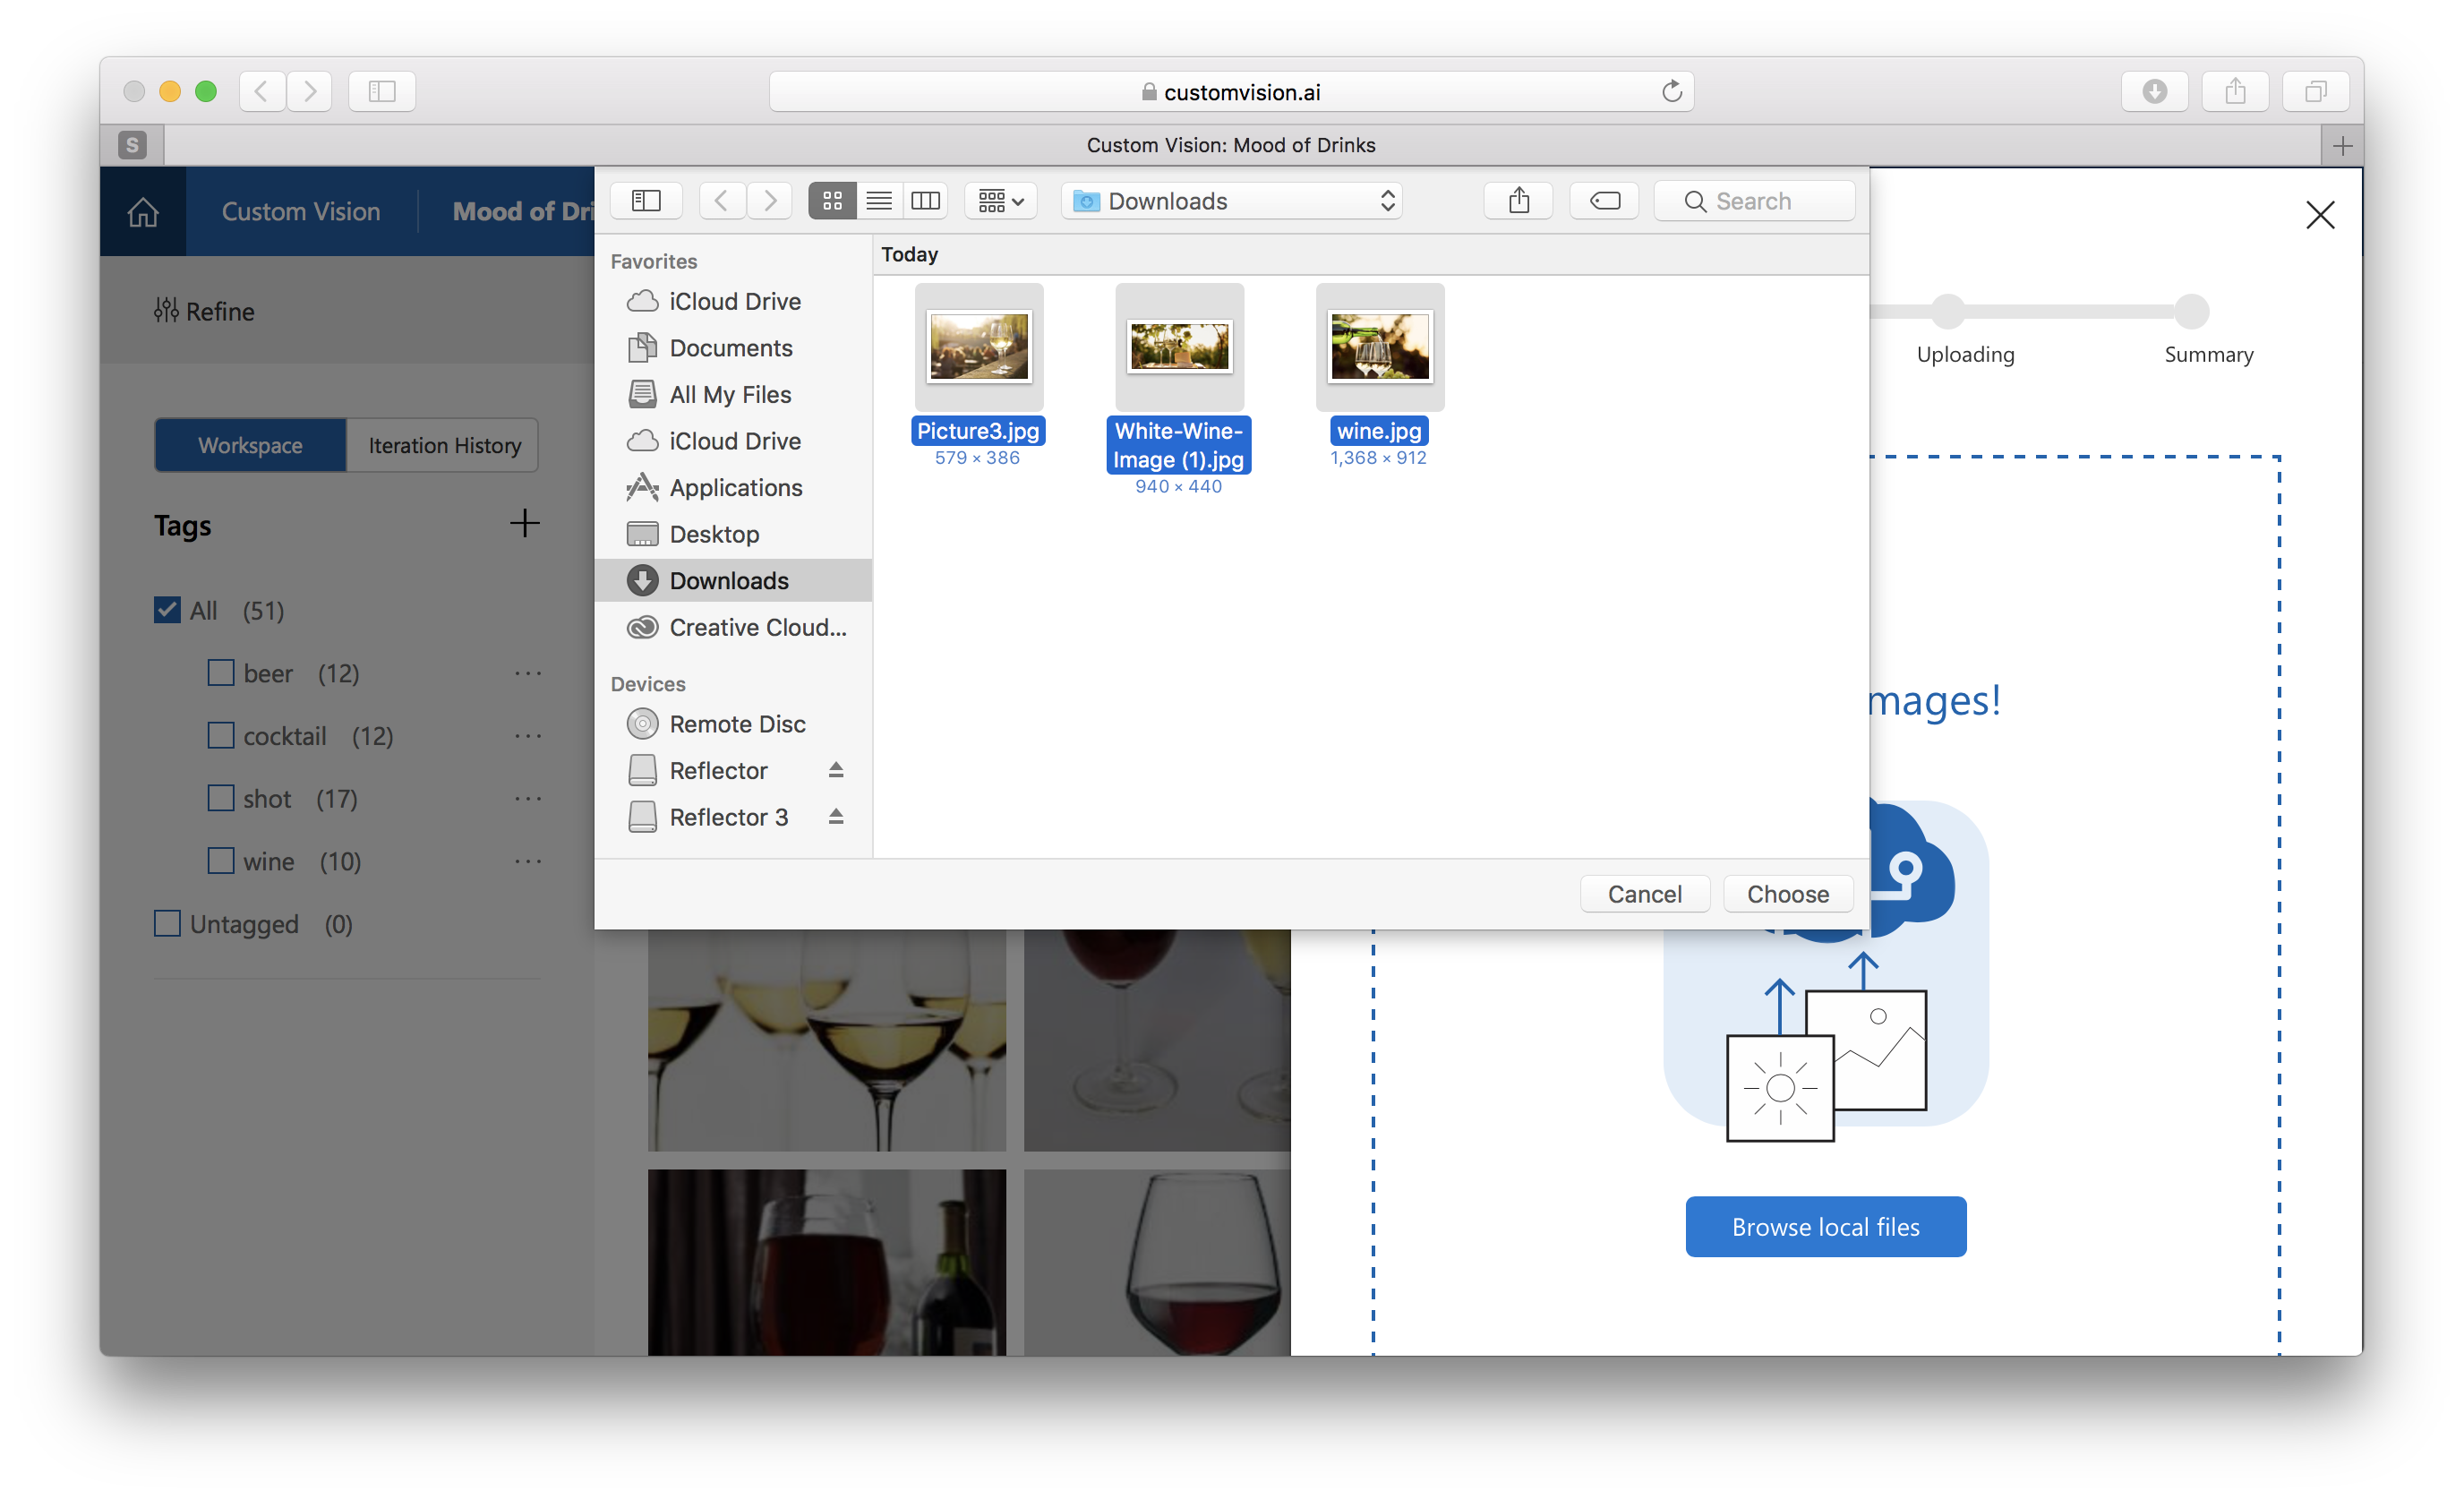
Once you have uploaded all the photos, you will have the option to tag them. So, you start with some photos of wine, and you can tag them with wine. You repeat the process for all the other classes and voila, your model is born.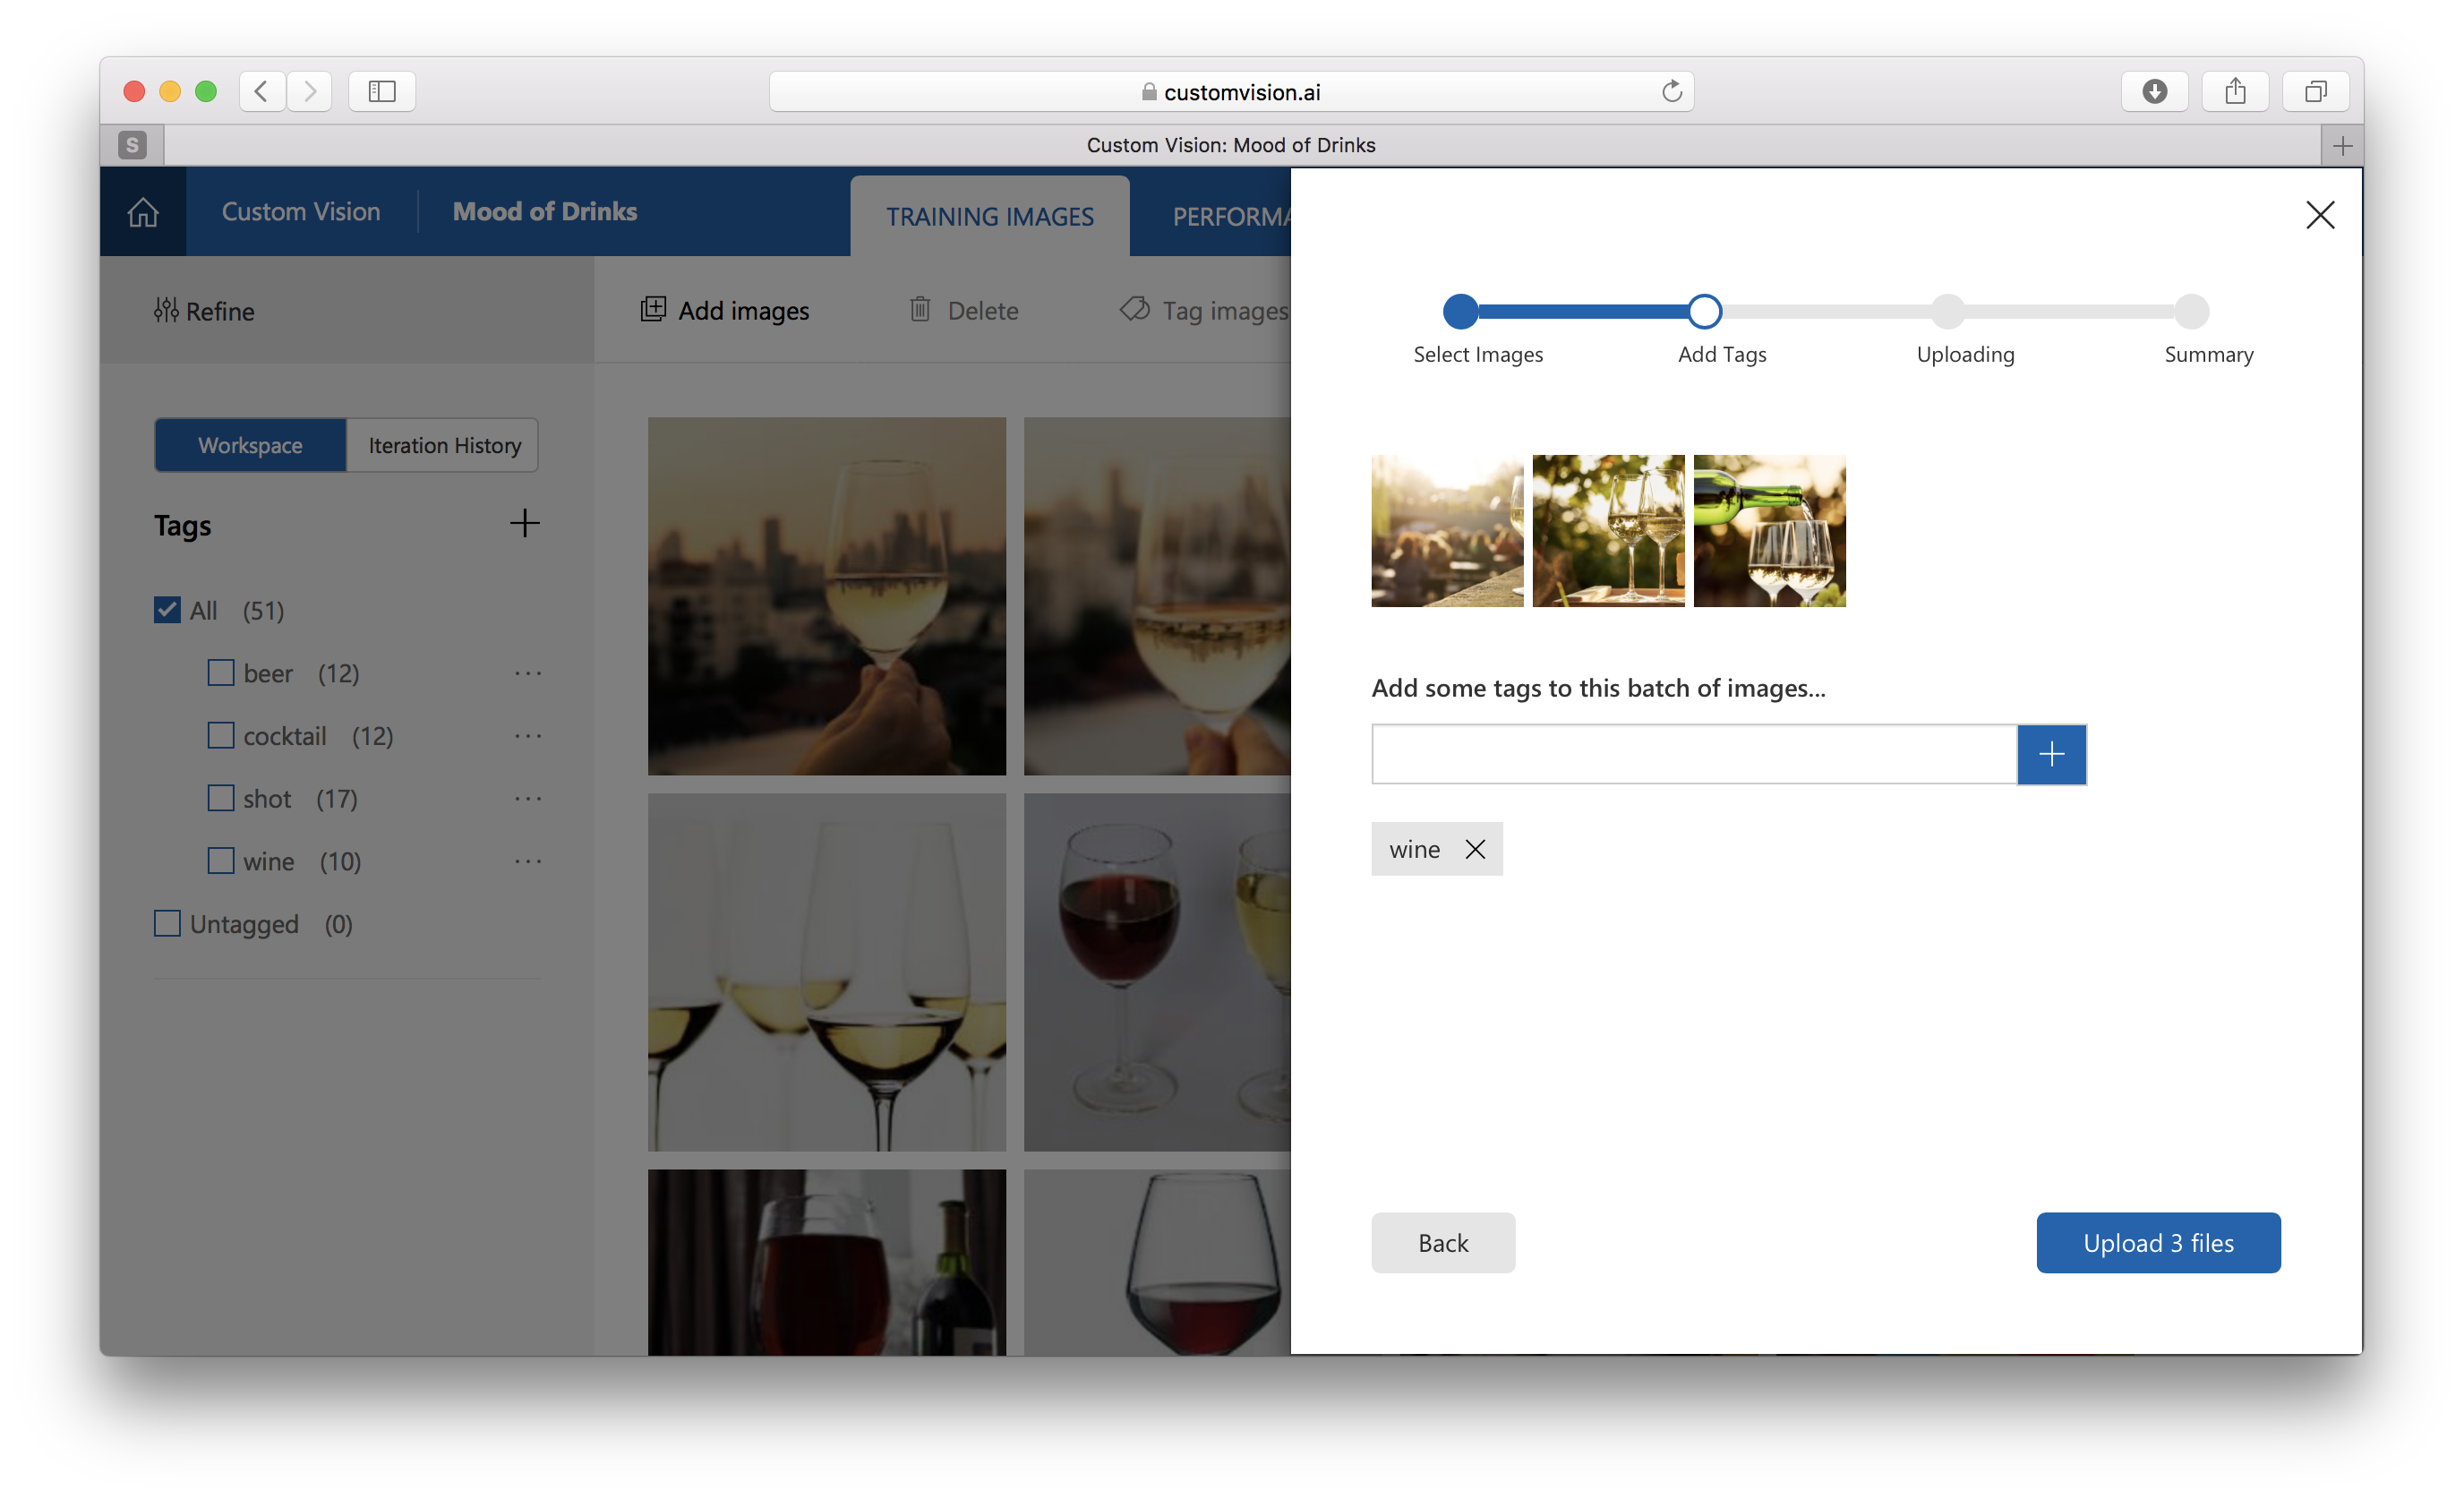
Train the model
When we've uploaded the photos, we're only half way through. Now we need to actually train the model to do something based on those images. There is a big green button at the top called Train.
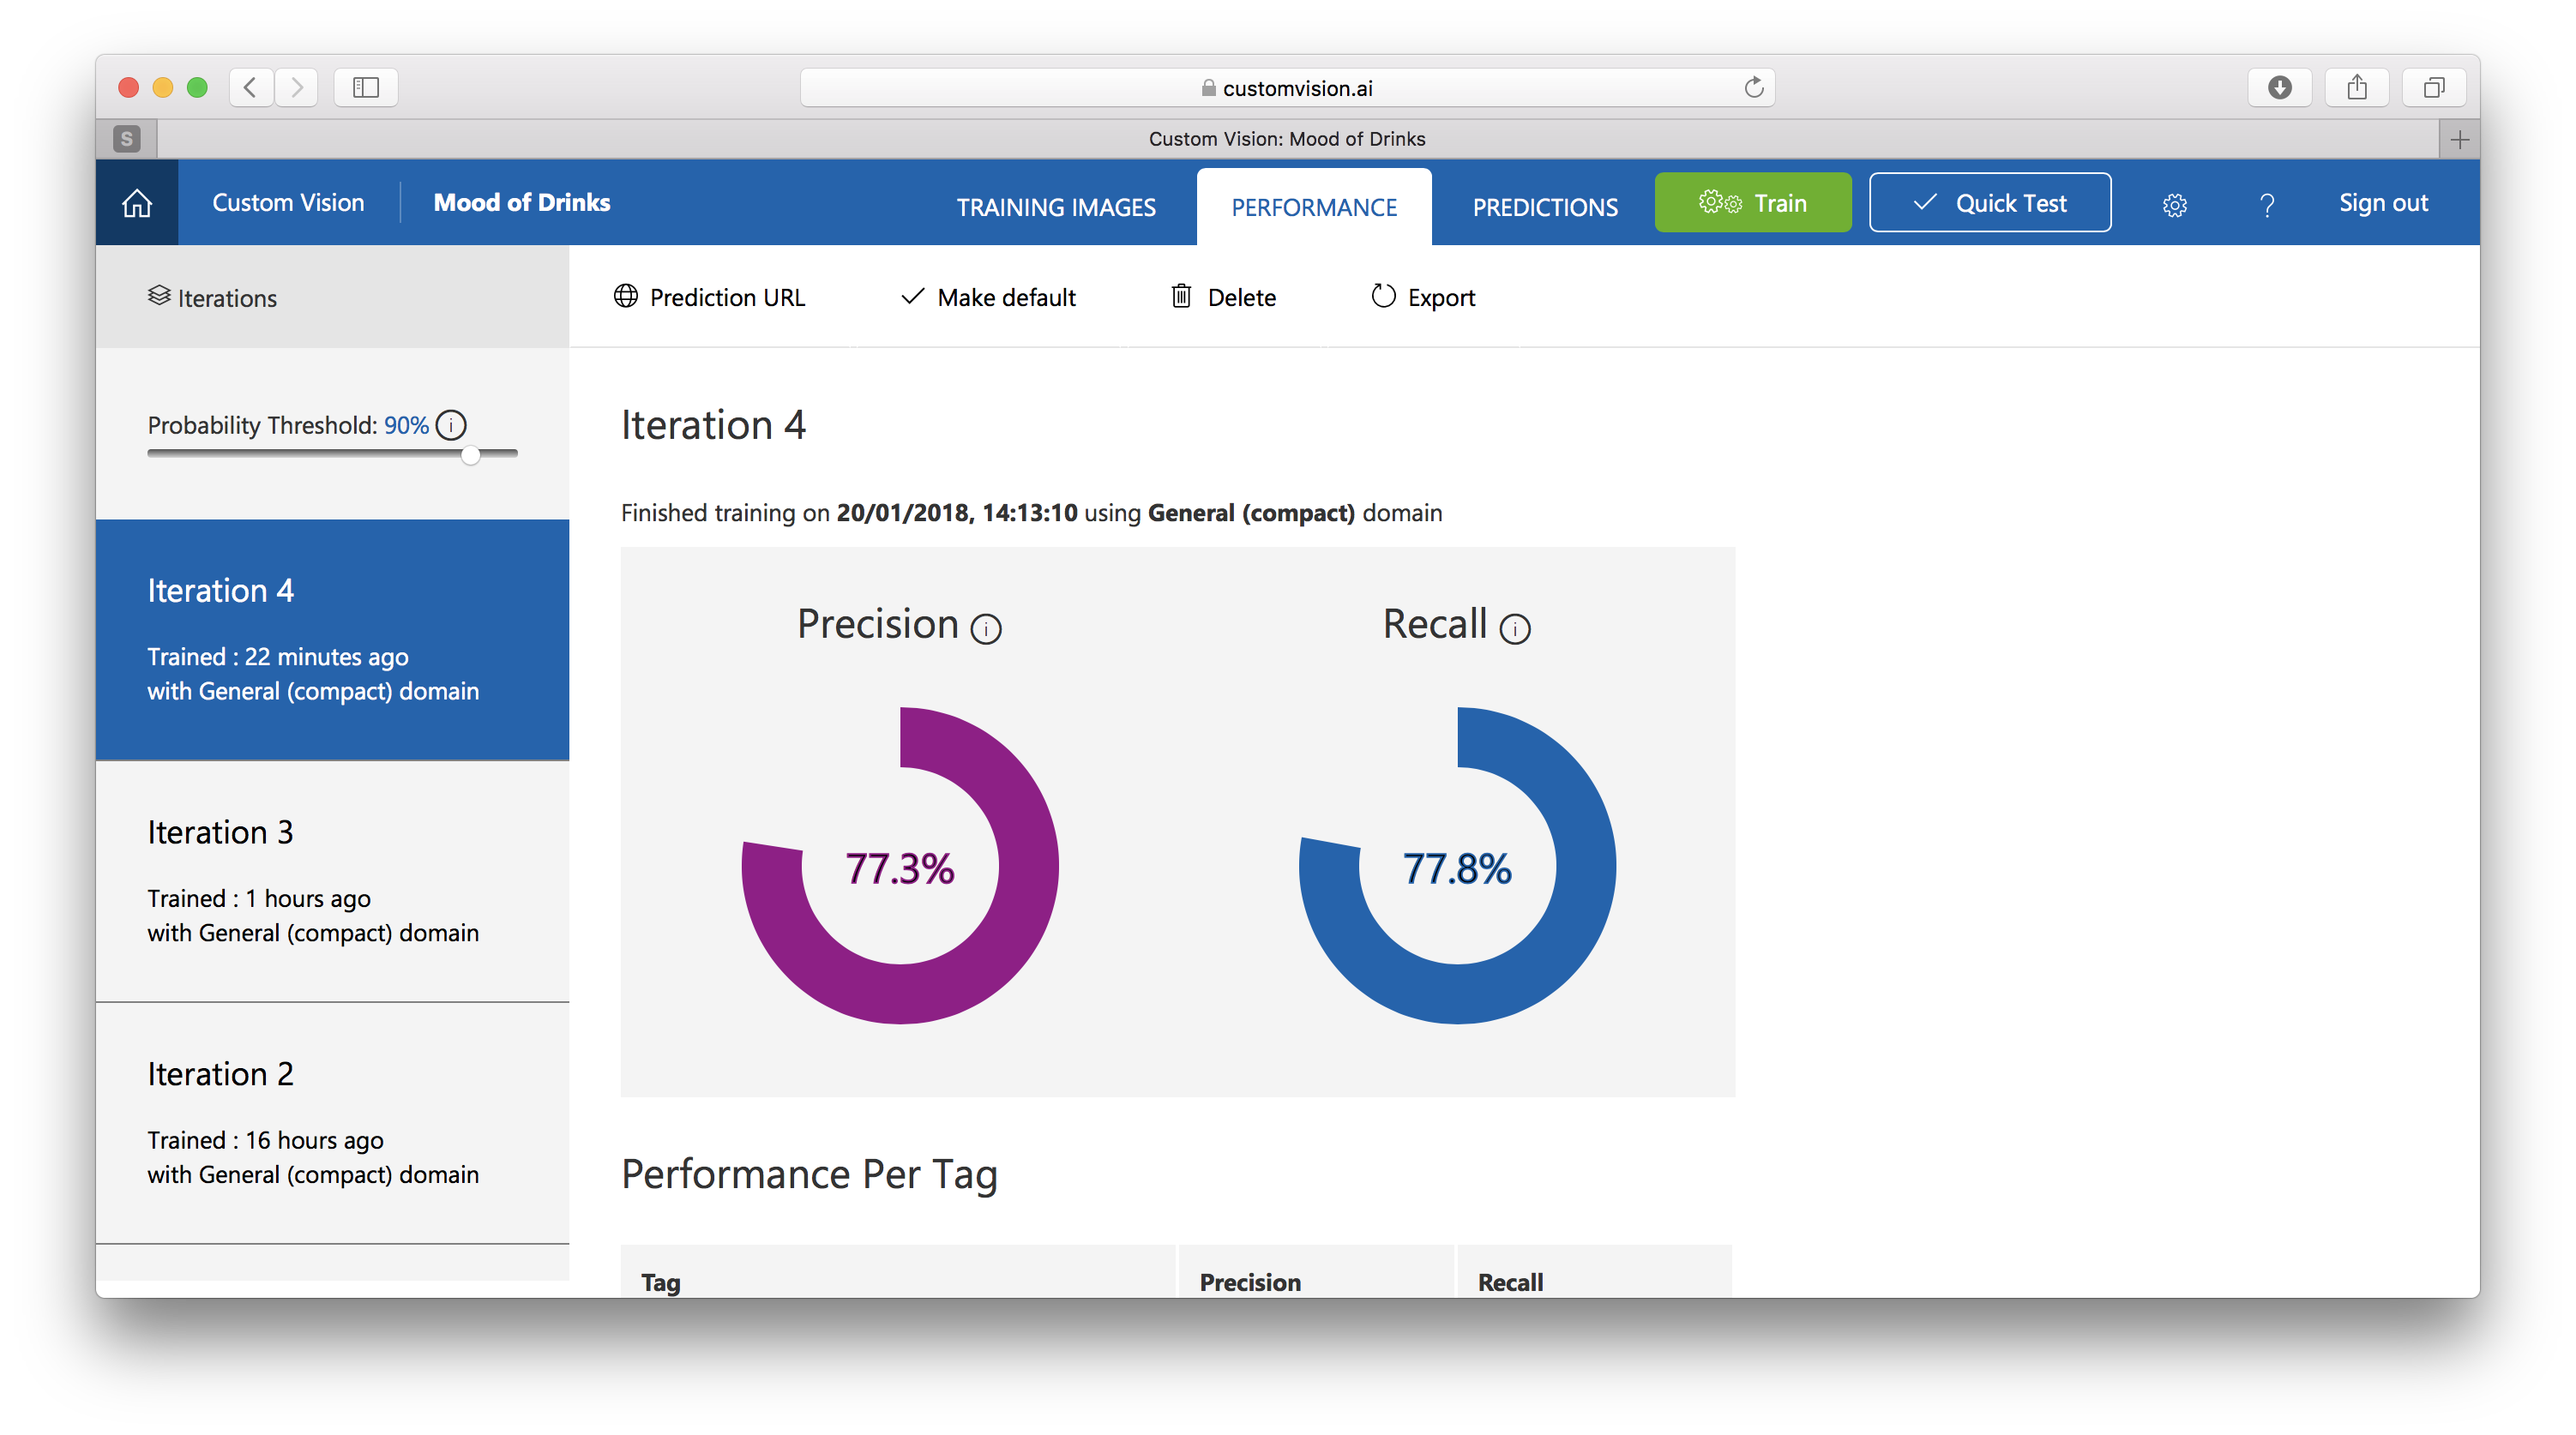
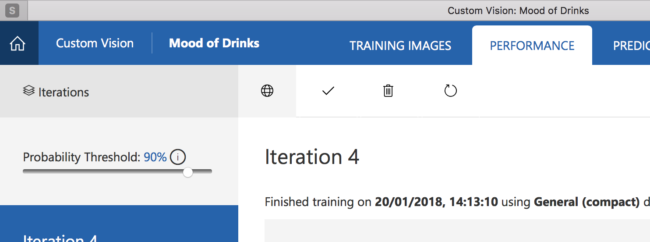
The nice thing is that you also immediately see how good the training data seems to be. As you move forward with the model, you will likely end up with multiple iterations which you are able to get back to. In my case, the previous iteration had a much better precision and recall rate, so I've elected to keep those. You'll notice there's an Export button on top of that page. And that is the next step...
Export the Model
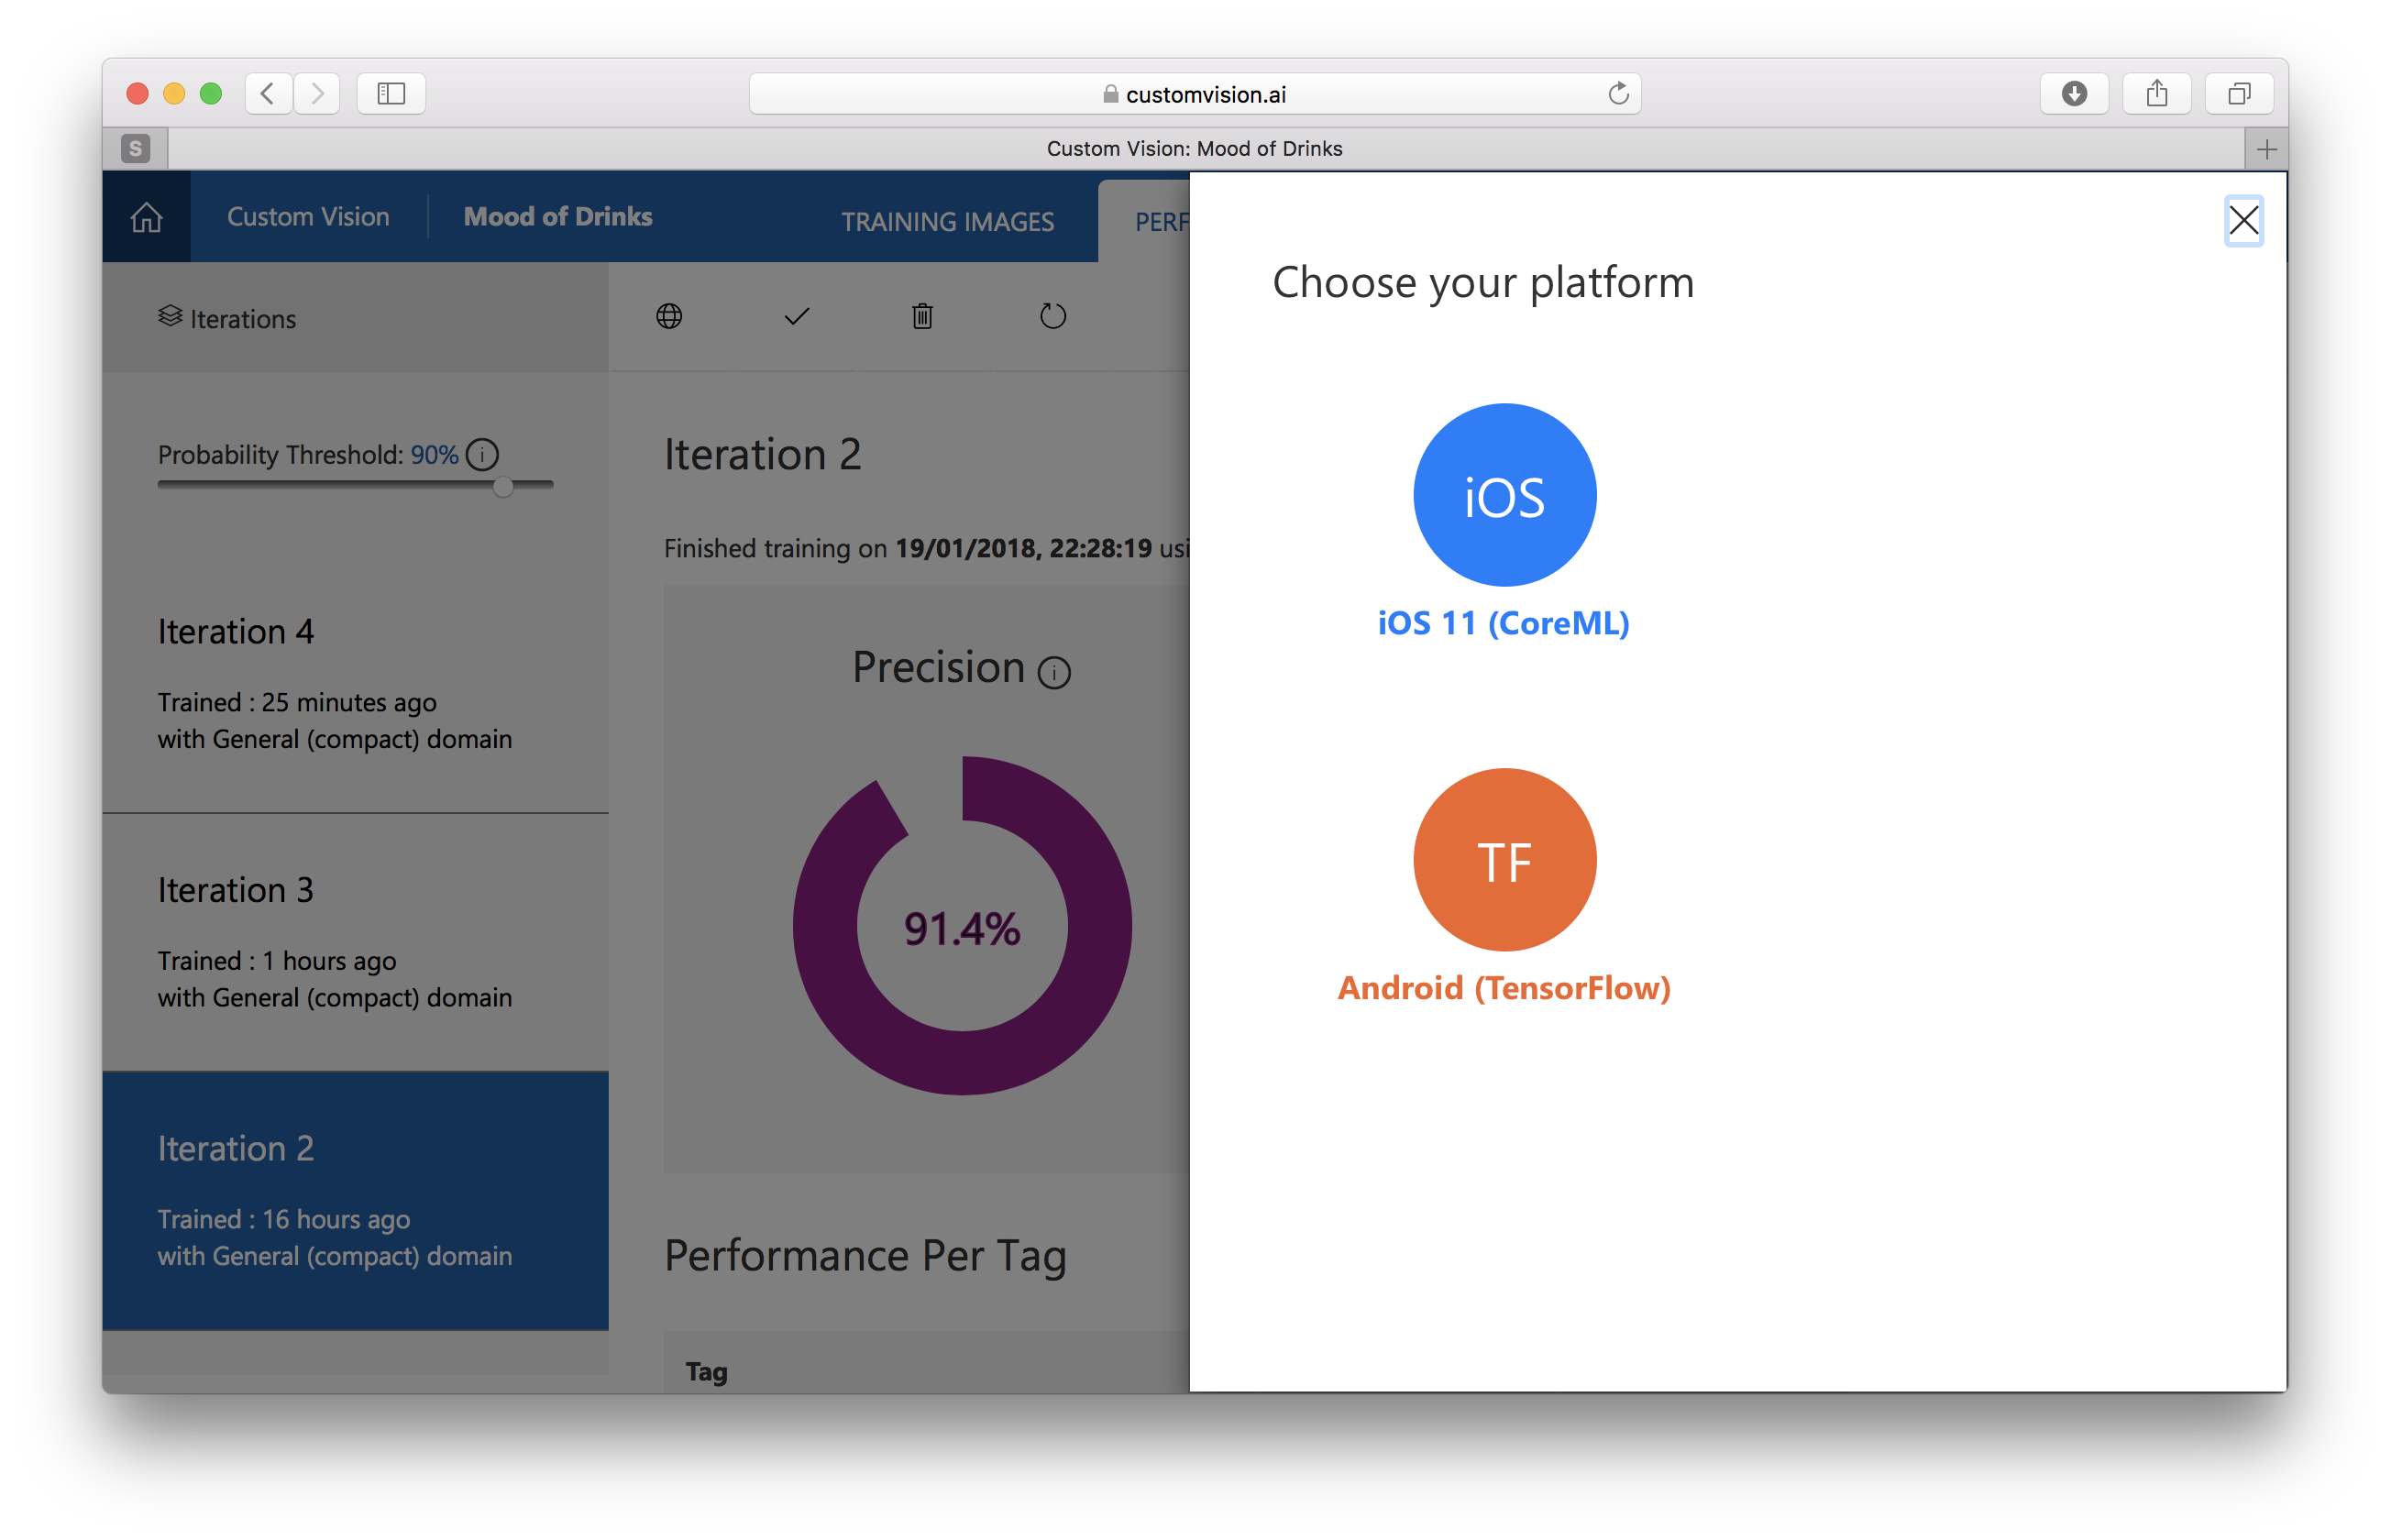
When we click the Export we can choose either CoreML (iOS 11) or TensorFlow (Android). Because I'm writing an iOS app, the choice was obvious.
That downloads a file ending with .mlmodel. You need to drag and drop that model into Xcode and you're good to go. But, more on that later...
Step 2: Build the iOS App
Next, I needed an iOS app. Because I'm not an iOS app developer, I've elected to stick to the sample that the product team built (and it does exactly what it says on the tin). It's available over on GitHub and you can get started by simply cloning that repository and modifying the bundle identifier and make sure you select the right team. Note: you still need your Apple Developer Account.
When you clone that, it will come with a pre-built model for you, of fruit. But that's boring...
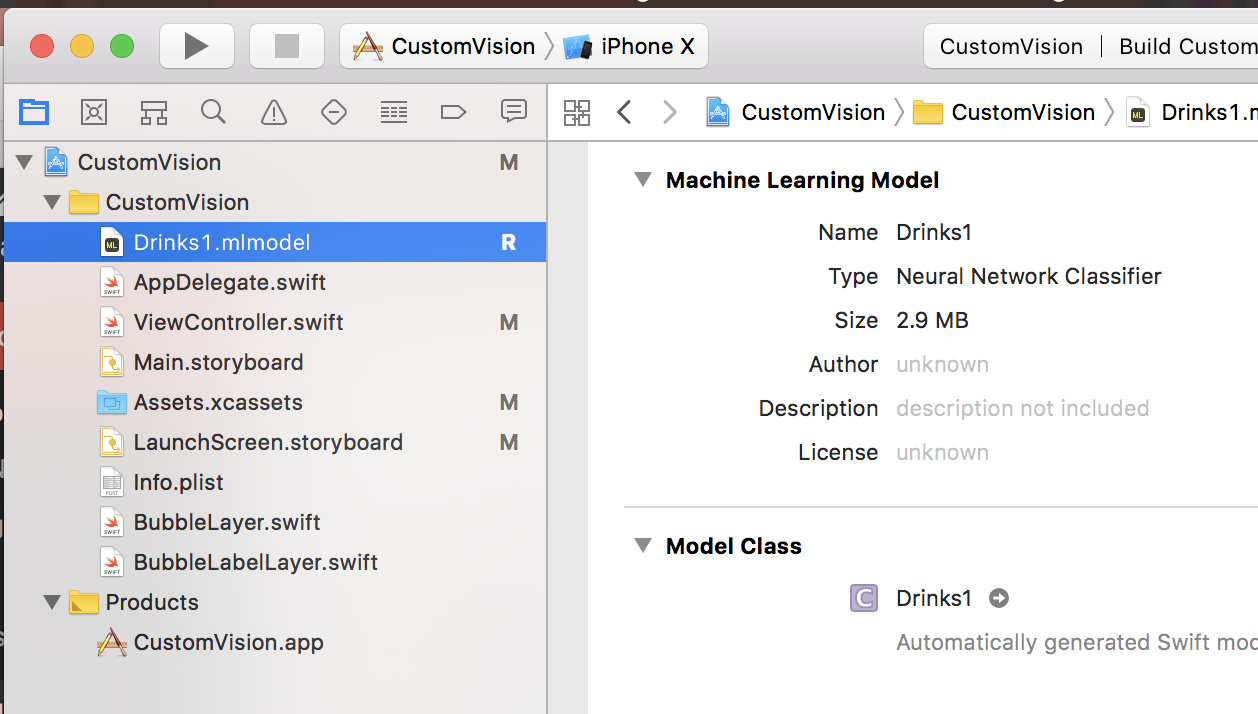
To make things more fun, we will drag that .mlmodel file we've downloaded earlier. Xcode is pretty good at making sure all of is is set correctly, though. The important bit for us is that it automatically generates a class based on the name of the model - in my case, Drinks1 . This is relevant for the next step.
Change the app to use the model
Now that the model is in our app, we need to tell the code to use it. To do that, we will be changing ViewController .
Specifically, there is a line of code that initialises the CoreML model and we need it to look like this:
let model = try VNCoreMLModel(for: Drinks1().model)
Obviously, the key thing for us is the Drinks1 name, representing the class generated from the model we've imported.
Step 3: Test the app
Once that's changed, the app is good to go. I've run it on my iPhone X and pointed it towards an image of a wine glass and a shot. These are the results:
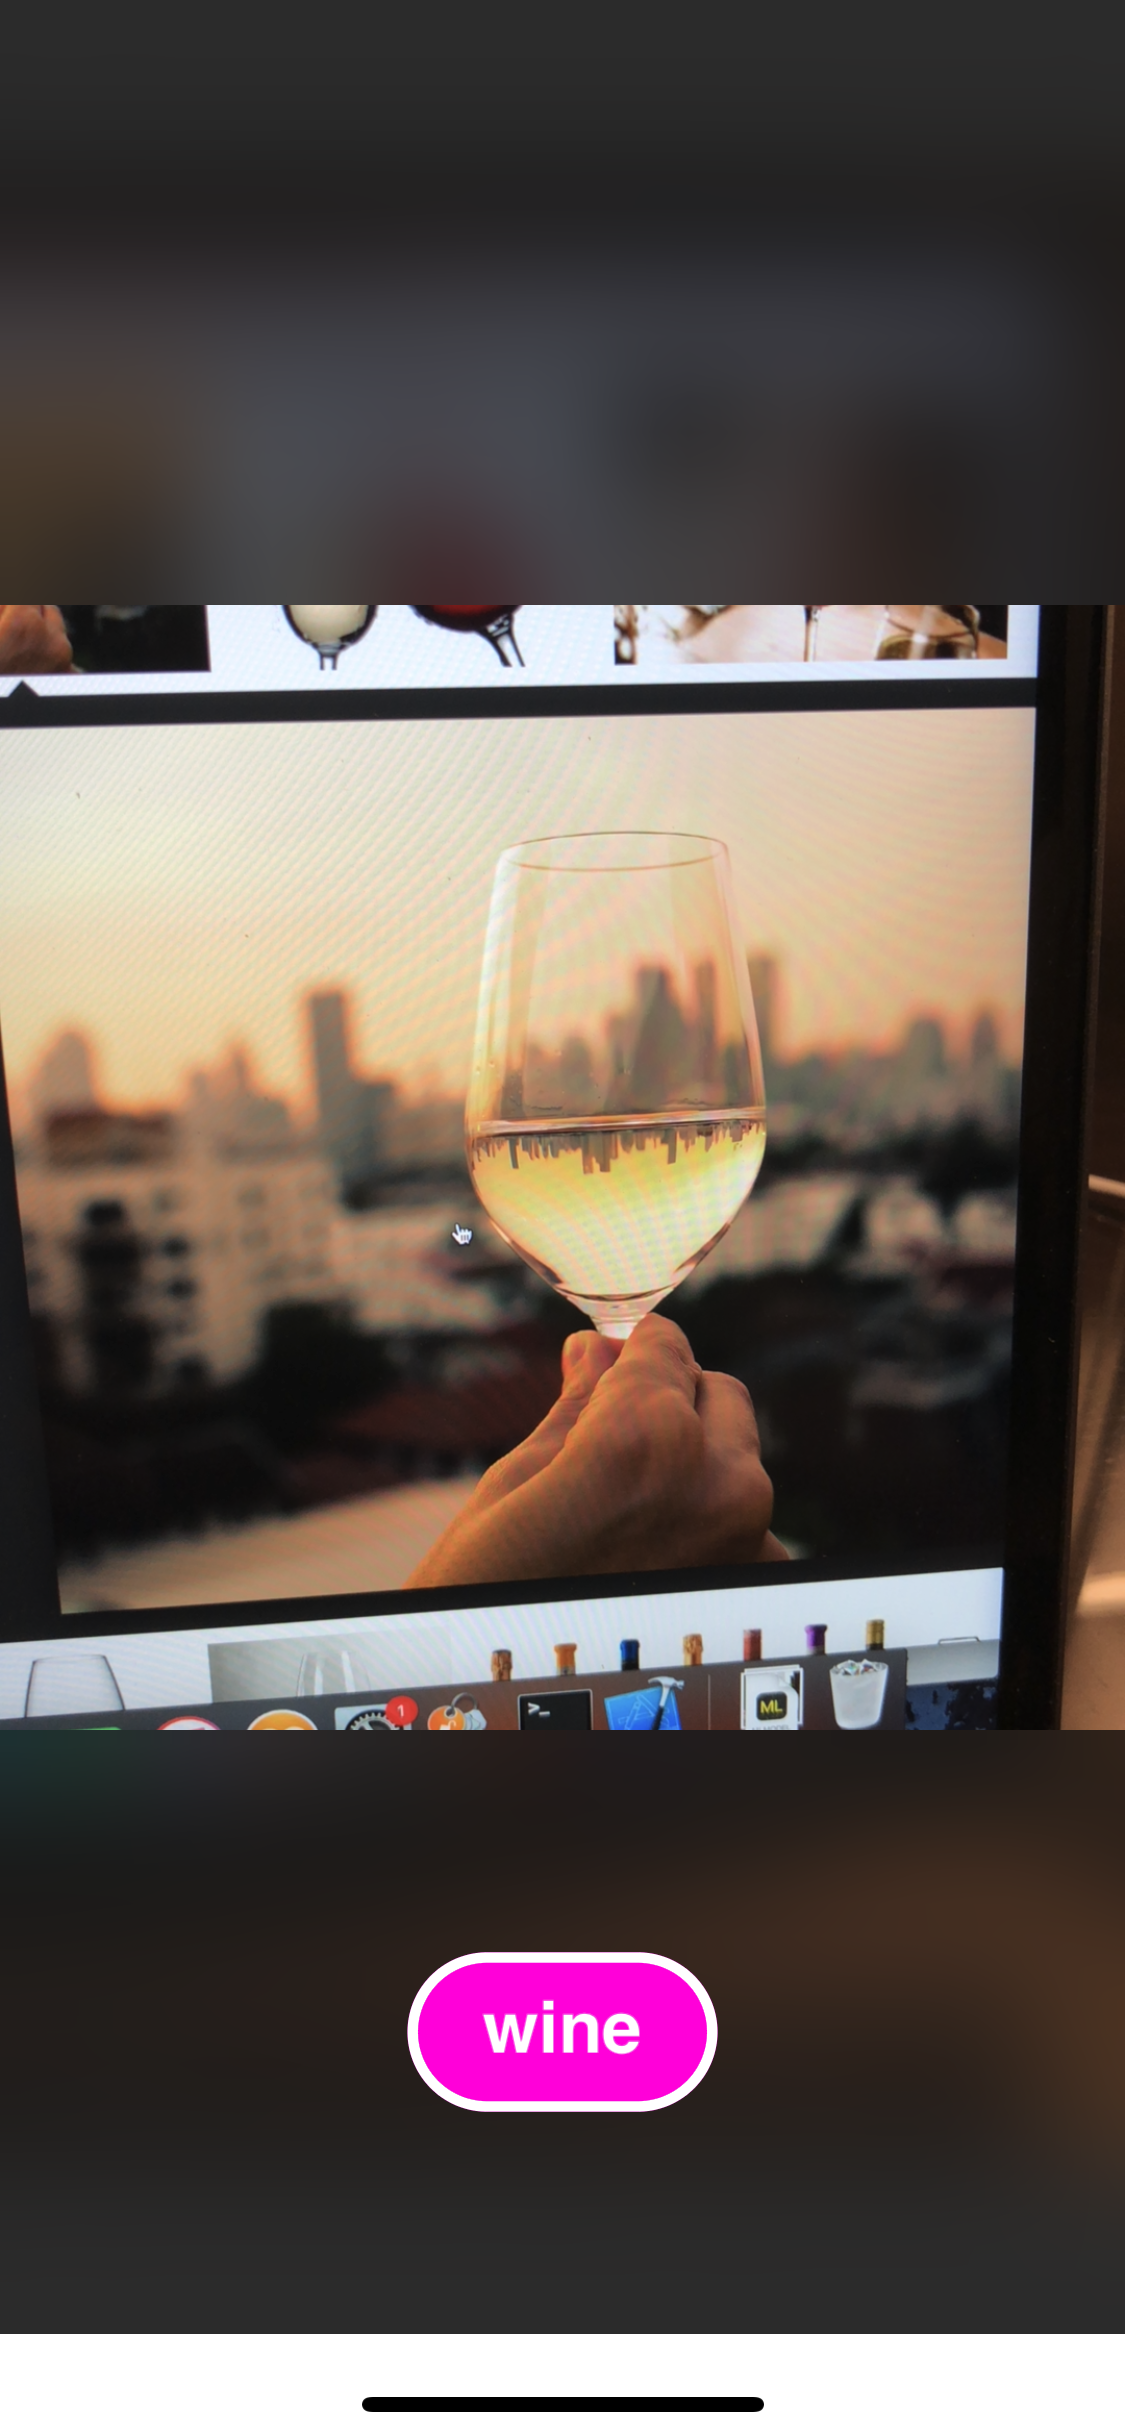
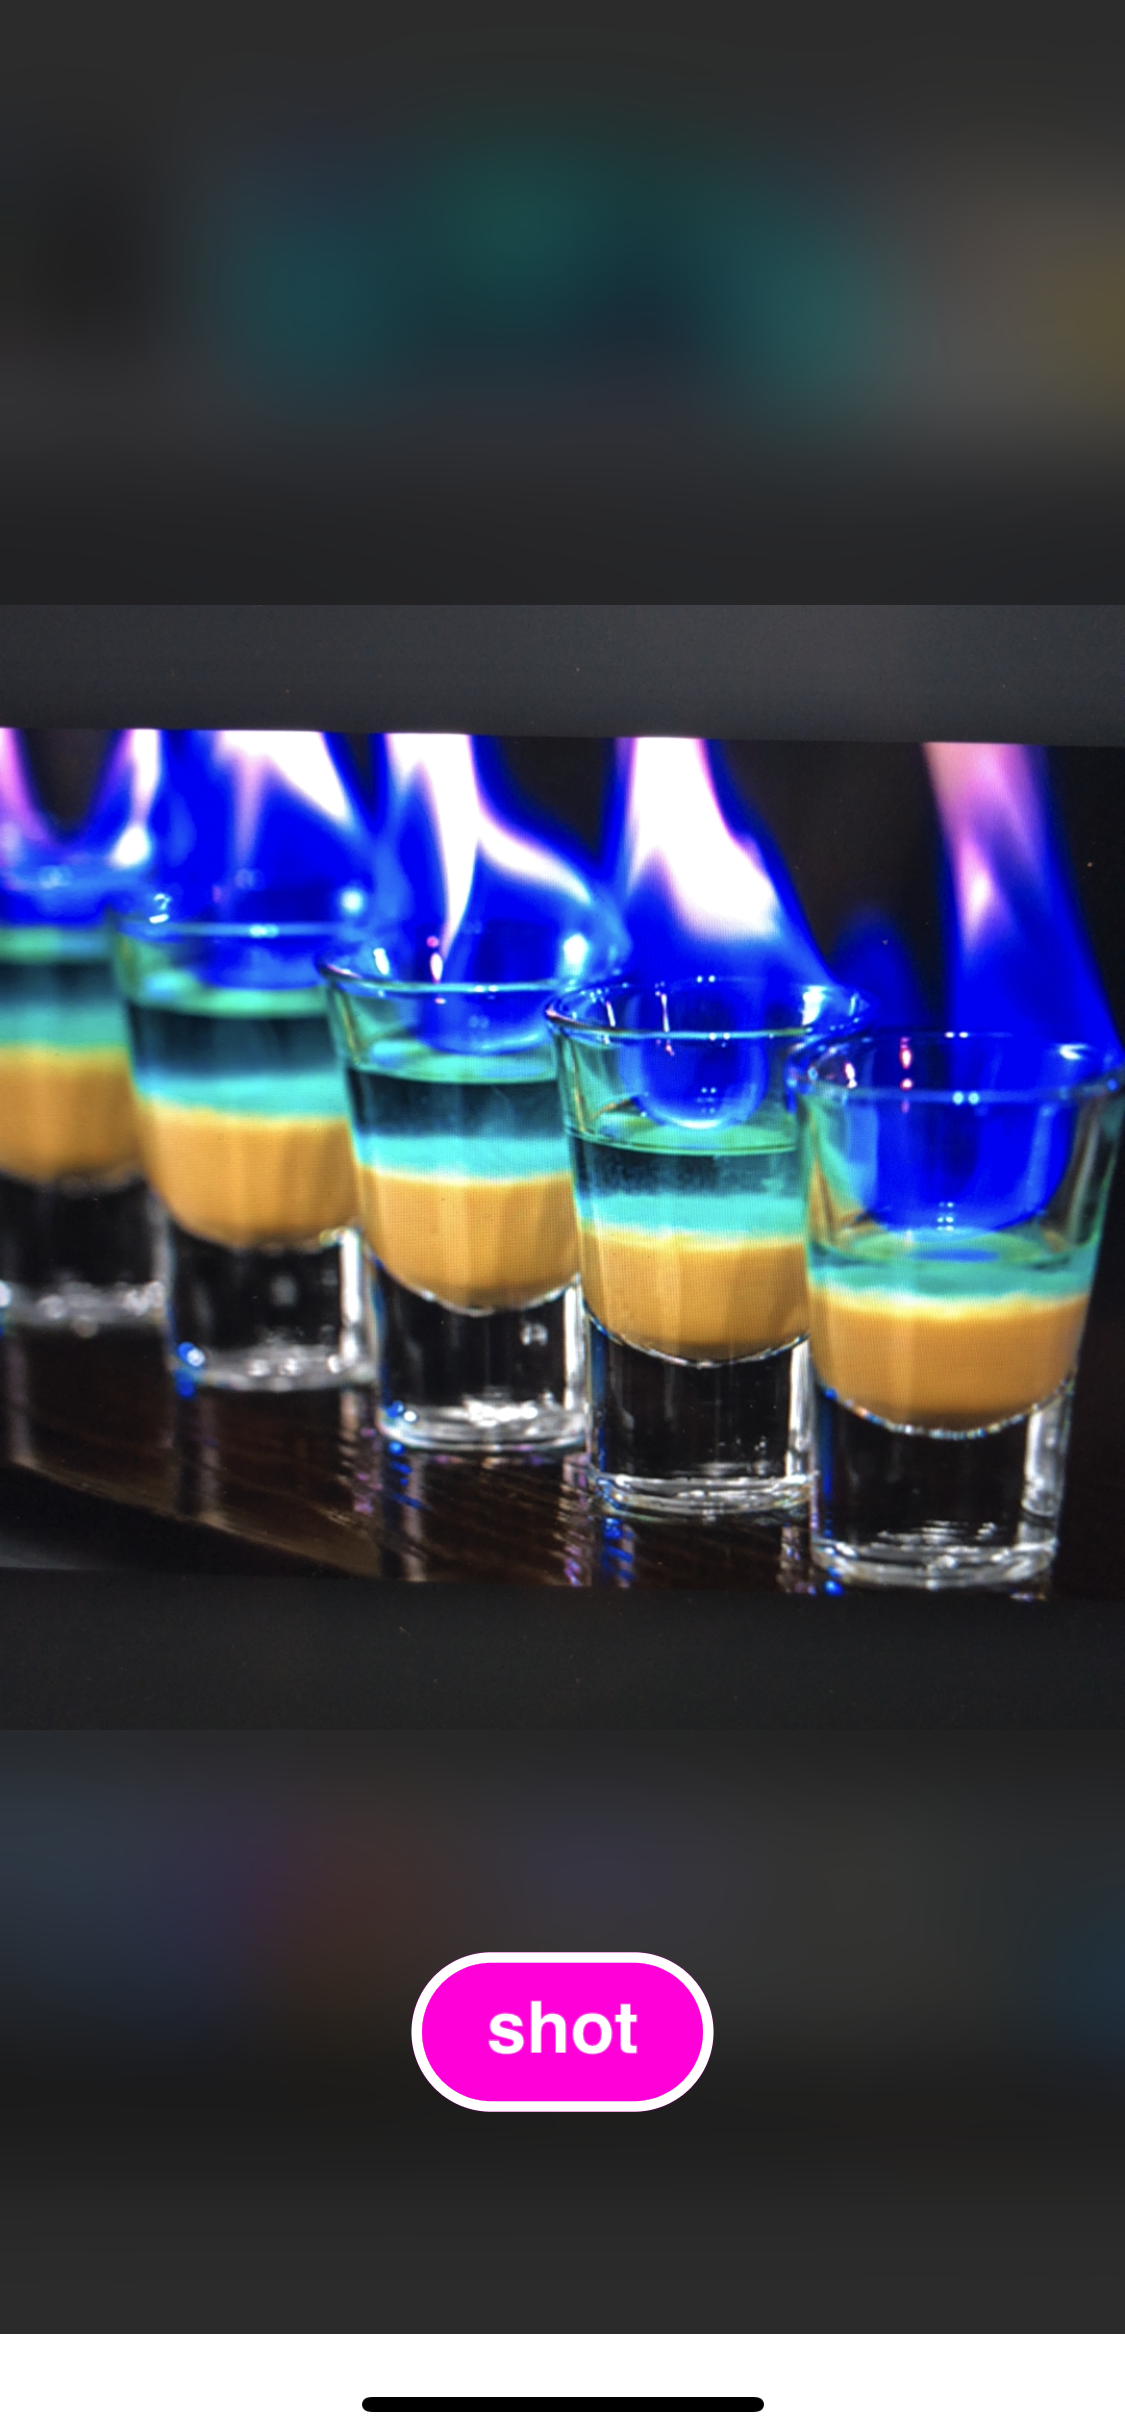
Important bit to grasp here is that this is fully offline, so it doesn't need a connection to do this. So, we've trained our own model using Microsoft's pre-built and optimised networks, exported that to a CoreML model and used it straight from our Swift app.
Bonus: REST API from a .NET Core App on a Mac
The above example is cool, but it doesn't cover everything, and your model may be evolving constantly, etc. There is a prediction API available and exposed from the service as well meaning that for each model you build, you can also get an API endpoint to which you can send either an image URL or the image itself, and get back a prediction.
Naturally, the only reasonable thing to do was to get down and dirty, and use this morning to quickly build an example app to showcase that as well.
Make sure you're environment is setup by following the instructions here. Next, launch a terminal and create a new Console app and run
dotnet new console --name MyAwesomeName
Then, open the Program.cs in your favourite editor and make it look something like this:
using System;
using System.IO;
using System.Net.Http;
using System.Net.Http.Headers;
using System.Threading.Tasks;


namespace Dev
{
    class Program
    {
        static void Main(string[] args)
        {
            Console.Write("Enter image file path: ");
            string imageFilePath = Console.ReadLine();


            Task.Run(() => MakePredictionRequest(imageFilePath));


            Console.WriteLine("\n\n\nHit ENTER to exit...");
            Console.ReadLine();
        }


        static byte[] GetImageAsByteArray(string imageFilePath)
        {
            FileStream fileStream = new FileStream(imageFilePath, FileMode.Open, FileAccess.Read);
            BinaryReader binaryReader = new BinaryReader(fileStream);
            return binaryReader.ReadBytes((int)fileStream.Length);
        }


        static async void MakePredictionRequest(string imageFilePath)
        {
            var client = new HttpClient();


            // Request headers - replace this example key with your valid subscription key.
            client.DefaultRequestHeaders.Add("Prediction-Key", "your prediction key here");


            // Prediction URL - replace this example URL with your valid prediction URL.
            string url = "your prediction URL here";


            HttpResponseMessage response;


            // Request body. Try this sample with a locally stored image.
            byte[] byteData = GetImageAsByteArray(imageFilePath);


            using (var content = new ByteArrayContent(byteData))
            {
                content.Headers.ContentType = new MediaTypeHeaderValue("application/octet-stream");
                response = await client.PostAsync(url, content);
                Console.WriteLine(await response.Content.ReadAsStringAsync());
            }
        }
    }
}
There are two placeholders for your prediction URL and prediction key. You get the latter when you open the model in Custom Vision and click on the little World icon.
You then need to open the Settings tab in the upper right corner and get the Subscription key. Once that's updated in the code, you can build and run it, either from Visual Studio Code, or from the terminal.
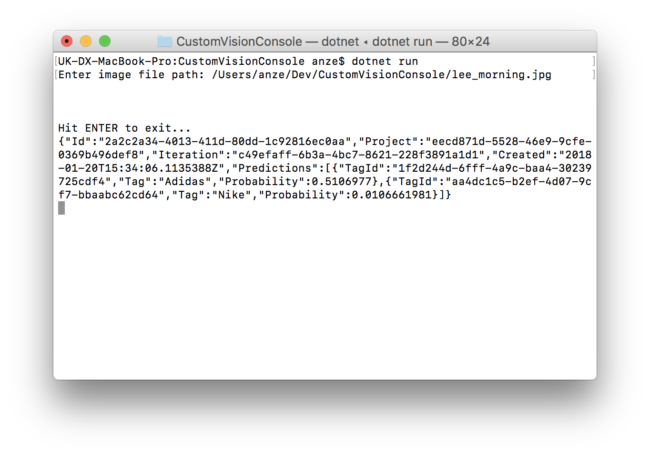
You'll see this returns the tag 'Nike' which is great, because that's exactly what Lee was wearing this morning:
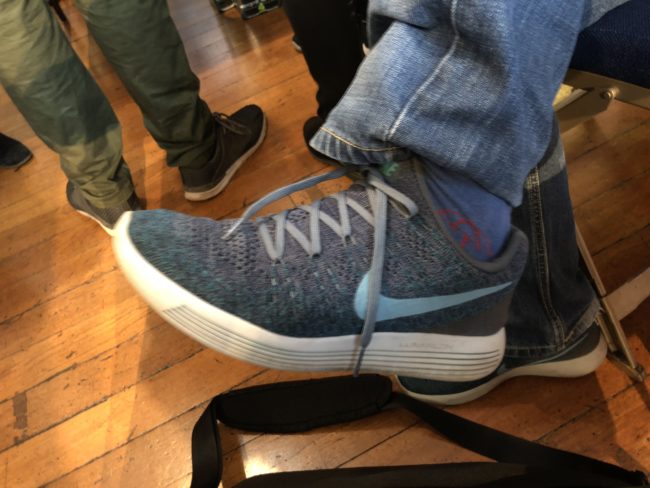
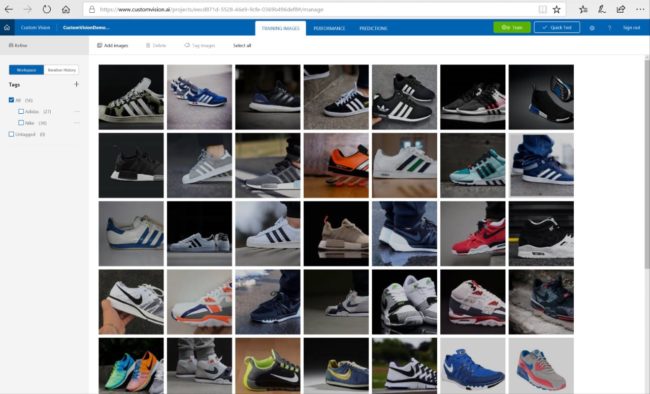
The model I've used in this example is one that was pre-built, and contains a lot of Adidas and Nike shoes. The aim, of course, being that we are able to differentiate between them. The model looks like this:
So, with that, that should give you a quick and dirty start into the world of Computer Vision. As for me, I'm looking forward to seeing what the teams here at the hackathon in Cambridge are building with this!
If you're here, ping us if you have any questions! If not, feel free to reach out through the comments or via Twitter (@twitter).